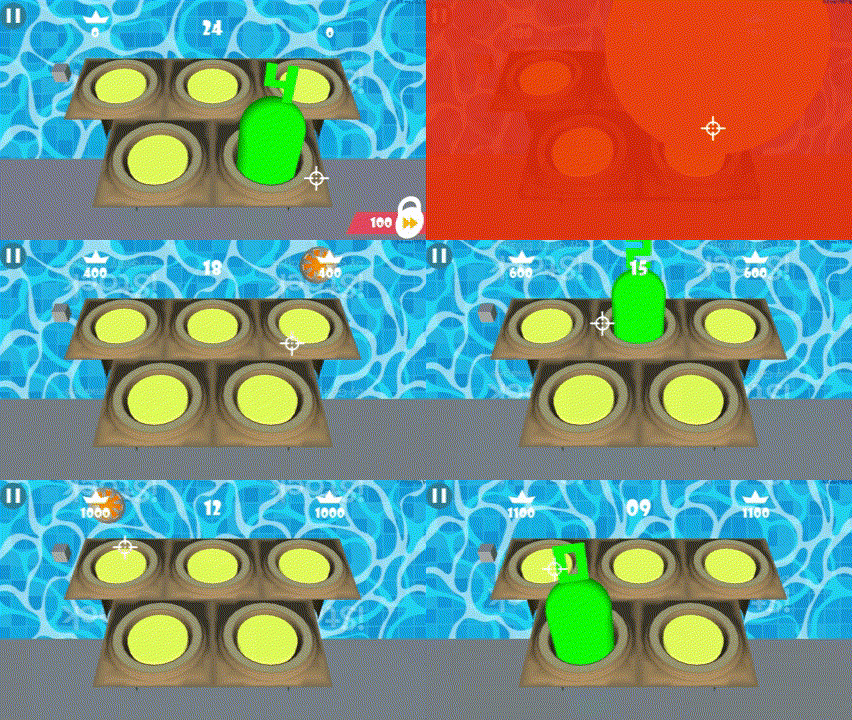
So what’s new this week?
Lots! As I currently work a non-creative, non-technical, shift day-job, this week I managed to get a lot more spare time than usual, so I got to dedicate almost a full day towards wrapping up the Lobber Target code. Nice one!
Continuing on from last week, you may recall that the Lobber Targets animated and instantiated a projectile instance, but there was no animation attached as yet. My goal was animating the projectile, simulating a parabolic arc trajectory towards the player, without using physics like mass or gravity. I did some research, and tried several methods, spending a couple of evenings testing what felt the best, failing at least once, and finally opting for a simple 3 position method, that animated my projectile in an arc to the target, with a height variable to control the arc.

Now I just needed to destroy the projectile and instantiate a vfx at this position. I tried using Unity’s OnTriggerEnter function to destroy the instance, but realised that pausing time at level complete, interrupted my destroy function, for any projectiles still animating. My method utilised rigid bodies and trigger colliders, so yeah, made total sense. So I removed the rigid body and the colliders, and opted for the simplest method, of detecting the distance between projectile and target, and destroying the projectile at a set distance from the target. Voila!
So with projectiles lobbing at the player, I had to add a vfx for when projectiles ‘hit’ the player, so I modified an Avoid Explode prefab to make a new Lobber Explosion prefab, and changed the code to suit the desired visual effect. Good enough for placeholder vfx, and I already had the kaboom sound, so I reused it here.
However, the small projectile explosions alone, felt underwhelming, so I added some screen damage and camera shake, to remind the player to shoot those projectiles before they hit the player. The previous Camera Shake and Camera Damage functions worked at treat.
Adding some additional code to the Shoot function allowed me to specify hit vfx and sfx for hitting the projectile. Borrowing the projectile explode vfx, I also created a modified camera damage function, simulating the illumination from the projectile explosion. This would be enough for a placeholder effect, and could be improved during the art pass.
I then added some spiral rotation on the projectile, to simulate the ‘rifling effect’ that a gun barrel would have upon it’s projectile, and used existing camera settings to generate variable values for target rotation, enabling turret and barrel to aim at the Camera, wherever the camera is.
That completed my list of tasks for the Lobber target object, and while it was not in my original design, it was a feature that I wanted to add, and I am happy that I took the time.
One remaining task that I wanted to add was a dust ring particle effect to the lowering targets, to simulate a displacement of air in the target hole, and then added another streak vfx on my targets as they descend. Timing needs some tweaking, but looks much more complete. Happy with the look, next week I will add these main menu vfx to the ingame targets too. Below is a video capture displaying the main menu and ingame changes.